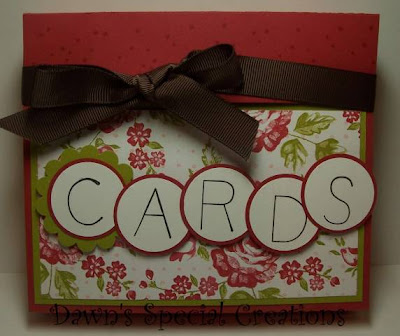
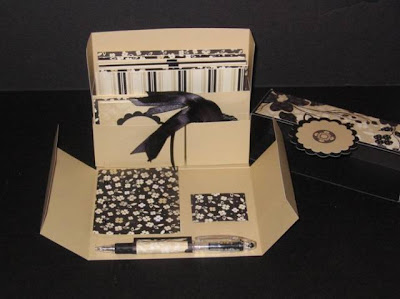
 A lovely lady Joelyn on splitcoast stampers has put up the instructions for this trophy card, so I just had to have a go, after watching Dawn make one at last weeks demo, she made it look so simple.
I made a few errors, so this is just the prototype!!
 I made the Stamped on panel too tall ( I didn't have all of the measurements then )
I used Michelle's tip of using the card that you matt & layer to punch out any shapes.....ooop's I forgot the matted image wasn't going to be completely covered on the back of the card.
Then when I was assembling the card I had already stuck the greeting on the front, assembled the inner part with the image & guess what I had done them back to front.
You will need:
11" X 4 1/2" piece of card stock...piece A (main body of card)
5 1/4" X 2 1/2" piece of card stock...piece B (message card)
2 1/2" X 1 1/2" piece of card stock...piece C (front greeting card)

Decorate the "A" piece of card stock.
Turn "A" over and with a pencil, lightly mark, score and fold to make lines 1", 2 3/4",3 3/4", 5 1/2",7 1/4", 8 1/4", 10".
On the centre line (5 1/2" line) mark in 3/4" on both sides.
With a razor knife cut a line 2 3/4" long between the two 3/4" marks.
Take card stock piece "B" and stamp the message you want for your card, on one side.
Be sure not to stamp on the bottom 1"(This area will be inside the card and won't be seen.)
On piece "A" mark a bottom centre line from the 1" score line down on both ends.
On piece "B" mark the bottom centre line for the bottom only.
Thread the message area of "B" through the center slot of "A".
Align and glue the two centres marks of "A" and "B" together (like a sandwich with B being the centre).
Stamp a greeting onto the front of card stock "C" and glue to the front of the card.

It will help if you look at the diagrams.
When you are finished...your card will slide up and down through the slot. Flat for mailing and Free standing once it is opened.


+with+watermark.jpg)


