A very talented lady who does the most amazing tutorials.
Gel or Water Card
by Beate Johns
This is a wonderful touch and feel card. No one can resist to play with it for a bit! You will definitely WOW the recipient of this card.
Supplies
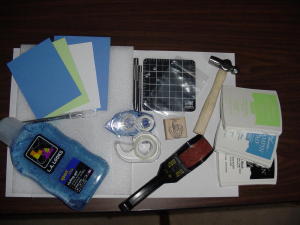
5 1/2" x 8 1/2" piece of cardstock for card
4" x 5 1/4" piece of cardstock for card front (window piece)
3 3/4" x 5" piece of cardstock for window border (optional)
3 1/2" x 4 3/4" piece of white cardstock (for image)
Ziplock® bag (I used 3" x 4")
Hair gel
Coluzzle©
Double sided tape
Eyelet setter tools and eyelets
Step By Step
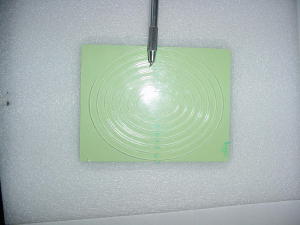
Step 1.
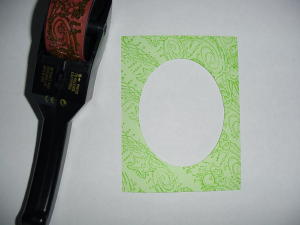
Use your Coluzzle© to cut a window in your card front. You could also use your paper cutter, a punch or your hobby knife for this task.
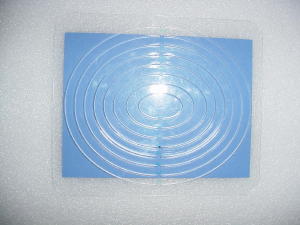
Step 2.
Cut the next size smaller oval into a complementary colored piece of cardstock to create a border for the window.
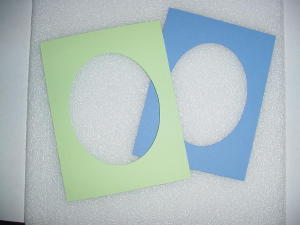
Now you should have two frames like these.
Step 3.
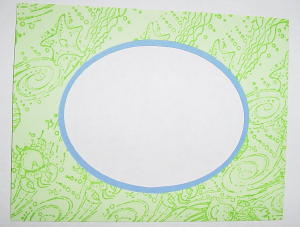
Decorate your card front.
Step 4.
If you have a border piece tape it behind your card front. Set aside.
Step 5.
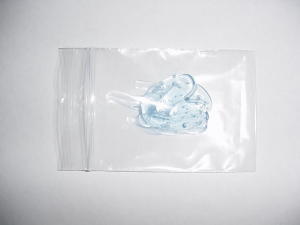
Squeeze some hair gel into your ziplock® bag. Only add enough to cover the inside of the bag. Too much gel might cause the bag to "pop" later on.
Step 6.
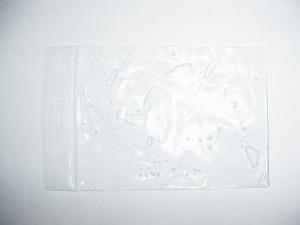
Press excess air out of the bag, close it and spread the gel evenly over the entire inside of the bag.
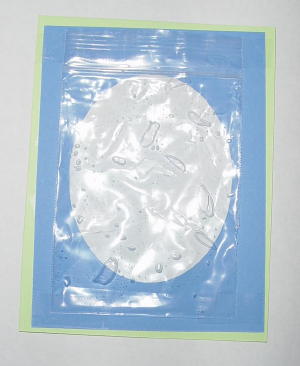
Step 7.
Turn your card front around and tape the gel bag over the opening. Use double sided tape.
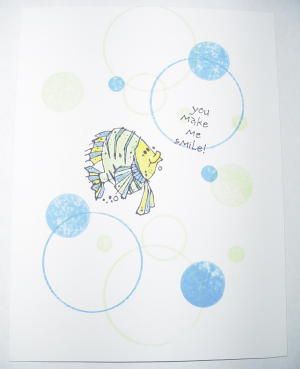
Step 8.
Stamp the image you want to be seen through the bag on white cardstock.
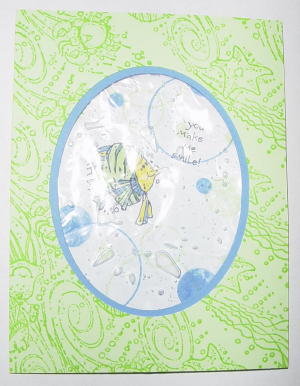
Step 9.
Center image behind gel window and adhere it to the window.
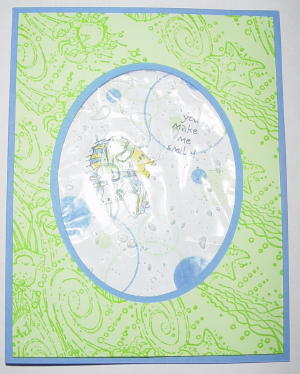
Step 10.
Tape the card front to your card.

Step 11.
Add eyelets to the corner of the card. Gel bags are heavy and tape alone won't be enough to keep it together unless you use sticky tape.
Tip:
If you plan to send a gel card through the mail, use a padded envelope to prevent the gel bag from popping.
Variations
A whole different hole
As an alternative to punching or cutting an oval-shaped hole, you can also cut out the inside of an image of a container, such as the bag or jar stamps from the SU! "All Wrapped Up" set.
Small stuff
Place small items inside the gel.






+with+watermark.jpg)


No comments:
Post a Comment