
Another tutorial that I want to try, this time by Beate Johns
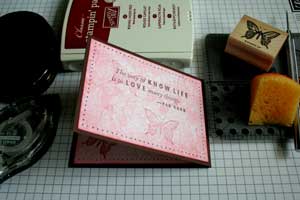
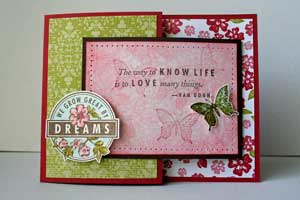
Joy Fold Card
by Beate Johns
Create this unique opening card with two pieces of cardstock.
Supplies

- One 4 1/4" x 8 1/2" piece of cardstock
- One 3" x 8" piece of cardstock
- Two 2 3/4" x 4" pieces of cardstock or designer paper (optional)
- One 4" x 5 1/4" piece of of cardstock or designer paper (optional)
- One 2 3/4" x 4" piece of cardstock or designer paper (optional)
- Additional cardstock
- Scoring tool
- Adhesive
- Stamps
- Ink
Step-by-Step
-
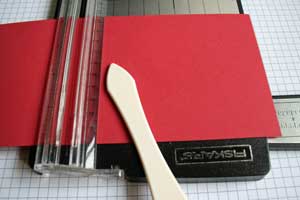
Step 1
Score your 4 1/4" x 8 1/2" piece of cardstock at 5 1/2".
-
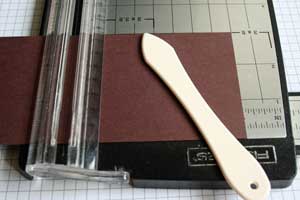
Step 2
Score your 3" x 8" piece of cardstock at 4".
-
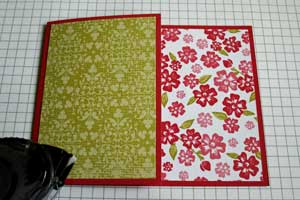
Step 3
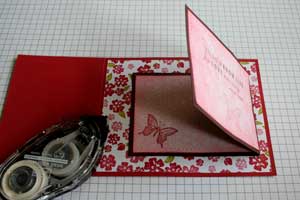
Adhere your 4" x 5 1/4" piece of designer paper on the inside of the card.
-
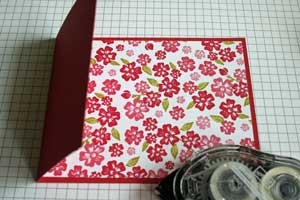
Step 4
Adhere your 2 3/4" x 4" piece of designer paper to the card front.
-
Step 5
Stamp your 2 3/4" x 4" pieces of designer paper if needed and adhere them to the inside and outside of your smaller folded cardstock piece.
-
Step 6
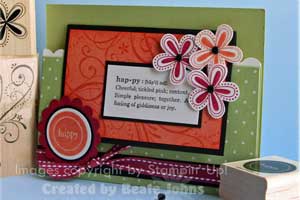
Add adhesive to the back of your smaller flap and tape it to the inside of the card. Make sure the fold of the smaller flap is pointing to the right.
-
Step 7 (Optional)
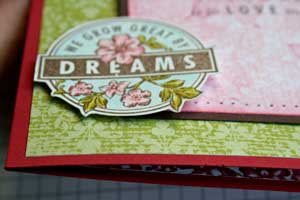
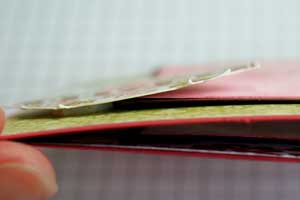
If you want to secure the flap from opening, stamp a complimentary image and adhere it with dimensionals to slightly over the edge of the smaller flap to keep it closed.
-
-
Step 8
Finish your card.
Variations
-
Open it on top
Make your card base a 5 1/2" x 7 1/4" piece of cardstock and score it at 4 1/4".
Create your flap from a 4 1/4" x 5 1/2" piece of cardstock and score it at 2 3/4".
Try different sizes


+with+watermark.jpg)


1 comment:
Stunning, you've made a great card from the tutorial! I need to try one of these too!
Kim
Post a Comment