
Masking - Basic
by Beate Johns
Something as simple as a little Post-It® Note adds lots of depth to your stamping.
Supplies
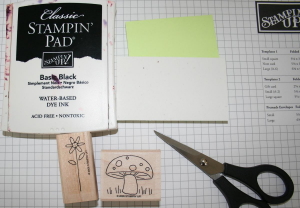
- Post-It Note™
- Scissors
- Stamps
- Cardstock
- Ink
Step-by-Step
-
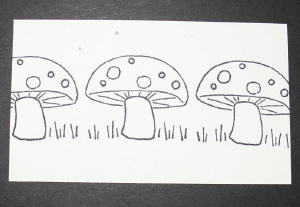
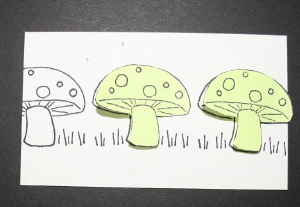
Step 1
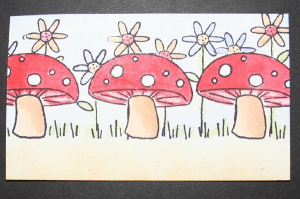
Stamp the image you would like to have in the foreground (very front) of the scene on your cardstock.
-
Step 2
Stamp the same image on a Post-It Note™, making sure that part of the image is on the sticky part of the paper.
I stamped two images, since I have several mushrooms on my cardstock.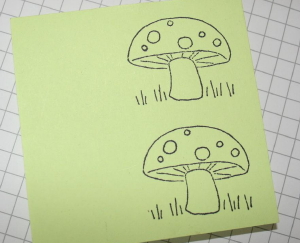
-
Step 3
Carefully cut the images on the Post-It Note™ out with your scissors.
Cut right on the line or even slightly inside of it.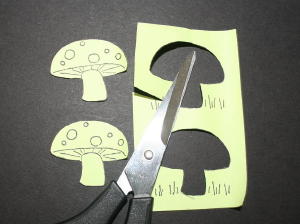
-
Step 4
Layer your Post-It Note™ images over those on your cardstock.
-
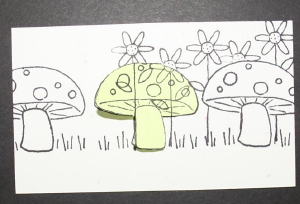
Step 5
Stamp your second image over your mask. This image will appear to be in the background.
-
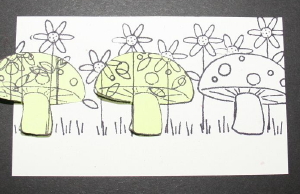
Step 6 (Optional)
Once you have finished stamping over one image, remove the mask, place it over the next foreground image and continue to stamp.
-
-
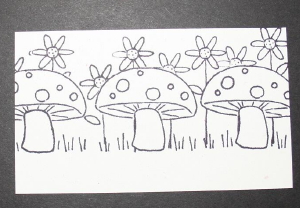
Step 7
Color your image if necessary.
-
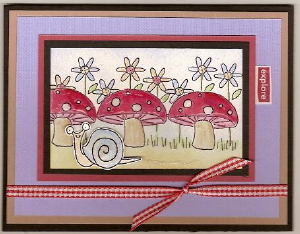
Step 8
Finish your card.


+with+watermark.jpg)


4 comments:
A brilliant tutorial; such a great idea and a beautiful end result xx
Awesome! I have never really done any masking but might give it a go now :)
Hi Lisa, hope you are well?!...
Fab tutorial.
Wow, your friend is one talented lady! I was admiring her designs the other day when they were put on the SW blog, they are FAB!!
Many thanks for your comments & for the award you passed on to me too!
Kerry xxx
Great tutorial Lisa. Think I may give this a go shortly.
Post a Comment